Showing posts with label photo crafts. Show all posts

Thursday, May 2, 2013

DIY-Polaroid Photo Tiles

polaroid photo tiles

I saw this very cute Polaroid coaster idea in Country Living Magazine this month.  Thank you mom for the subscription!  They found these super cute drink rests from blogger, Brittany Moser of darkroomanddearly.com and I loved the idea!

We just got back from a week in Santa Barbara and I decided to make my dad (who joined us on our beach vacation) the set pictured above for his birthday using photos from our trip.

This is such an easy and inexpensive project and I think they are sooo cute!  To make them all you need is 4"x4" ceramic tiles (I bought mine at Home Depot for 16 cents each), a bottle of Mod-Podge, a can of Krylon Crystal Clear spray and 3 3/4"w x 3 1/4" h photos.  I sized my photos to these measurement  in PSE and printed them on 4" x 6" photo paper and then cut them out.  


Assembling the tiles is a breeze.  Just place them on the tile leaving a bit of extra room at the bottom to give it that Polaroid look and brush on the Modge-Podge.   Add 3-4 coats (allowing drying time in between each application) and once they have dried spray on the sealant.  To finish it off, add felt pads to the corners of the tiles, so you don't scratch up your furniture. That's it!  So cute!

Thank you Brittany for the great idea.  To see her original post which has more details click here (you are going to love her blog, it is full of all kinds of great ideas and projects).

Friday, December 16, 2011

Wood Block Photos--Another DIY Photo Craft

I love getting my craft on during the holidays.  There is something about the season that turns me into a Martha Stewart wannabe.   This year my two favorite projects have been making photo wood blocks and photo magnets.   You can find my tutorial on these photo magnets here.


Here are a few examples of the photo wood blocks I made (I need a better name for these)....


And now here is the quick tutorial.......

Supplies:

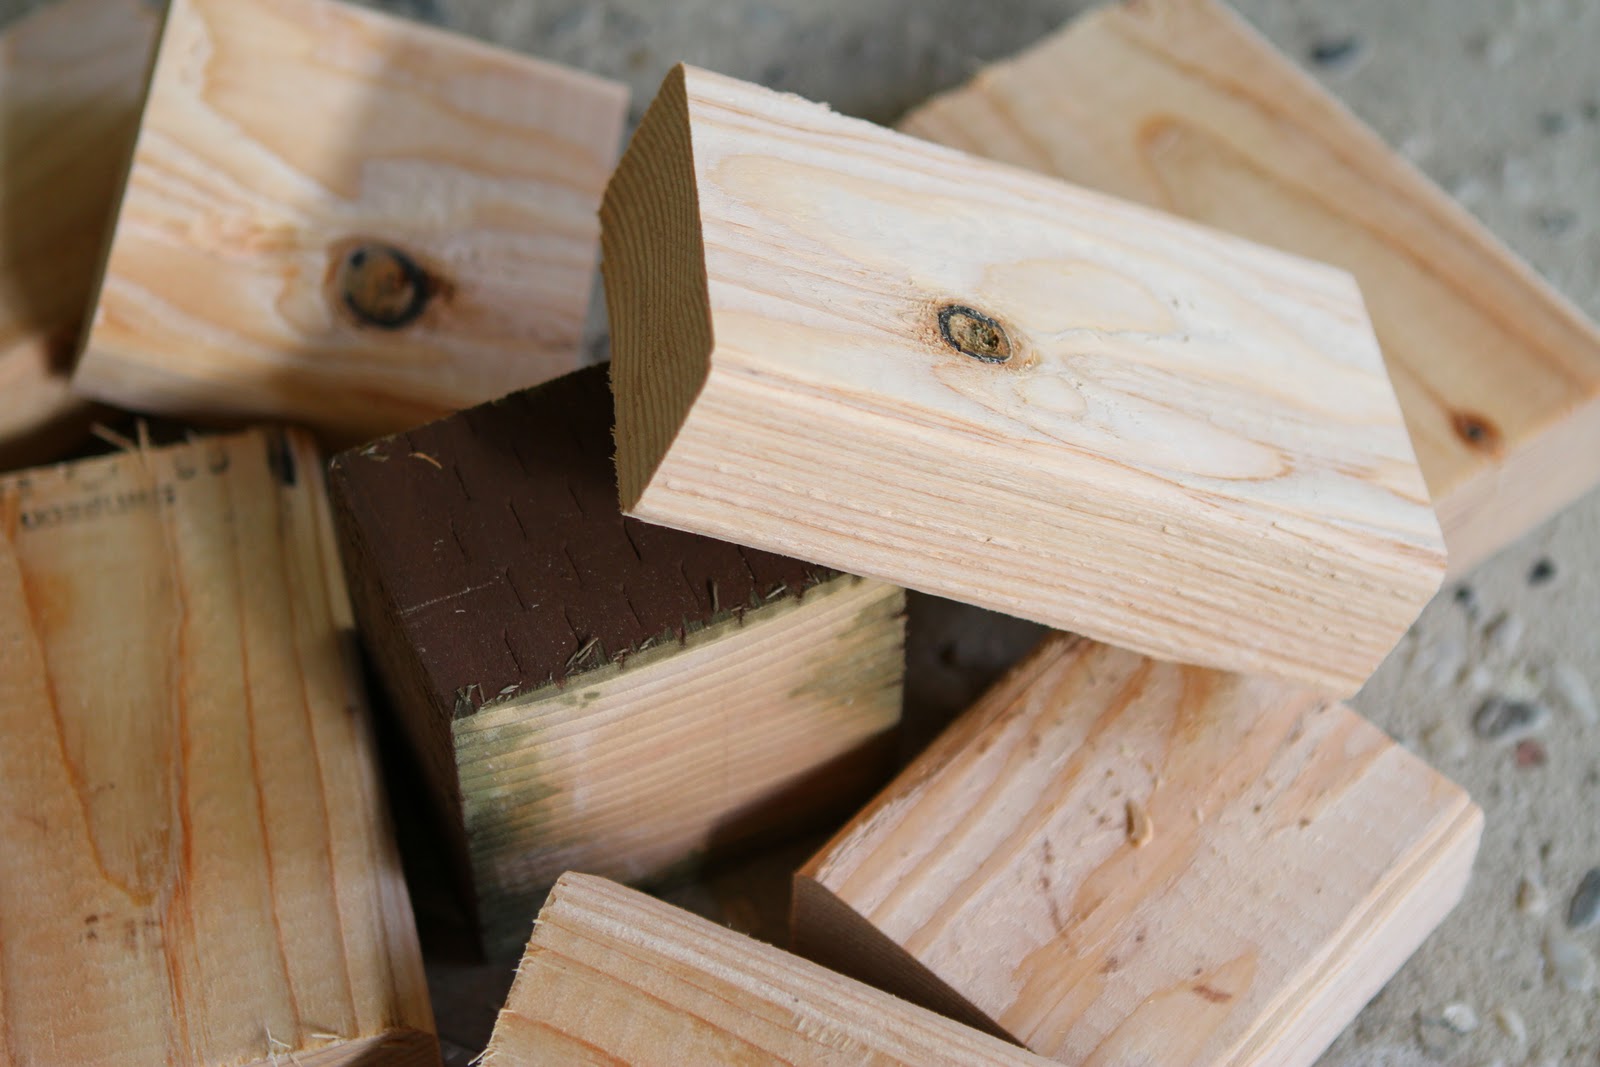
  • 2x 4 Wood-- cut into 4x4 or 4x6 pieces.  I had left over wood from a recent fence replacement and I bought some at Home Depot.  I purchased a long piece for $2.50 and the Home Depot guy was nice enough to cut it up for me.  
  • Paint:  I had some left over white paint in my garage.
  • Stain--I picked up free sample packets of stain at my local Orchard Supply store
  • Modge Podge Glue--$3.50 at Michaels
  • Tacky Spray--$4.99 at Michaels
  • Sandpaper to smooth out the edges of your wood
  • Your favorite photos (printed on matte paper and cut to size)
  • If you want to add captions or make inspirational word blocks, vellum paper works nicely
  • Music--I always like to craft to some good music!

The Process:
So I took my unfinished wood that looked like this and sanded down the edges:  
And painted it to look like this:
I then stained the edges a bit to give it an aged look:
And using my Sticky Spray, glued my photo to the block:


After the photo dried (which was just a few minutes), I used the Modge Podge and painted a couple of layers on top of the photo being careful to smooth out any air bubbles:

And then after an hour or so of drying, I made this (I hope my girlfriends like it):


Thursday, December 1, 2011

Photo Magnets--Holiday Craft

by Kristina Rust


I love making things.  I am definitely my mother's daughter.  My mom is the queen of craftiness.   She sews (she made my wedding dress), is a Master Gardner, has dabbled in stained glass, has painted, and has a knack for decorating.    While I don't necessarily share all of her talents, I do share the desire to create.

Anyway,  my love of photography has inspired me to not only snap pictures but to do something with them.  How many photos do you have sitting on your computer (your own photos--your kids, your family not your clients), waiting to be printed and shared whether it be with your friends and family or just for yourself?

Here is a super easy and inexpensive project that will turn your photos into great little magnets.  Or skip the magnets and just fill a bowl with inspirational words and your favorite photos.  These will make great holiday gifts (my secret Santa is going to receive some.....shhhh don't tell).


The Supplies (all purchased at Michaels):
  • Bottle of Modge Podge (I used matte finish)   cost:  $3.49
  • Tube of Amazing Goop (it really is amazing but stinky!) cost:  $4.99
  • Disc Magnets (.75 inch or 19mm from ProMAG) cost:  $6.99 (used a 40% off coupon for this)
  • Favorite Photos (I printed a bunch using the Contact Sheet II option in PSE8)
  • Jumbo Clear Luster Flat-Back Glass Marbles  cost:  $2.49
  • A small paint brush
  • An hour or so of time (and some good music playing in the background)


The Steps:

Step 1:  Print out some of your favorite photos onto matte finished photo paper.  I created a folder of favorite photos and then imported them into PSE 8 using the Contact Sheet II option under the file tab.  For the background below,  I used Kim Klassen's texture Phoebe (if you read this blog regularly, you know how much I love her textures).


Step 2:  Place the glass marble over each image you want to cut out and trace around it.  You will end up doing some extra trimming once the image is glued onto the marble but this will get you pretty close.

Step 3:  Put a coat of Modge Podge on the image (printed/photo side) and press the image (printed/photo side up) to your marble.  Don't worry the glue will dry clear.  Trim any excess paper from around the edges.

Step 4:  Once the image has started to set, add more Modge Podge to the back.  This is just to help adhere the edges to the glass.


Step 5:  Once your image has dried, use the Goop to glue your magnets to the backside of the marble.  Let it set for a few hours and voila.....you are done!


If you decide to not use magnets (cuz you have too much stainless steel in your house or nothing to stick these magnets on), you could cut out felt to adhere to the backsides too (just as a nice finish).

If you are looking for some other ideas for your photos, check out the frame I made a couple of weeks ago (inspired the amazing women at Camp Shutter Sisters) and next week I'll show you how to make these.....photo blocks......Yep, I'm on a Modge Podge kick!